Functional Gait Assessment: A Comprehensive Guide

Gait, or the manner of walking, is a fundamental aspect of human movement. It involves a mix of different systems in our body, like muscles and bones, our brain and nerves, and our senses. A Functional Gait Assessment is an important tool in healthcare and rehab. The FGA helps us understand how someone walks and find any problems that might be affecting how they move. In this blog, we will talk about why the Functional Gait Assessment matters, what it involves, and how it enhances patient care.
What is the Functional Gait Assessment?
The Functional Gait Assessment is a multiple-exercise test used to assess balance and postural stability during different rehabilitation tasks. This 10-item assessment tests an individual’s ability to perform multiple motor tasks while walking. The FGA involves the systematic observation and analysis of an individual’s walking pattern in real-life situations. It is designed to simulate everyday activities and challenges that an individual may face. This assessment provides a quantitative and more accurate representation of a person’s functional mobility and helps healthcare professionals tailor interventions to address specific issues.
What are the components of the Functional Gait Assessment?
The Functional Gait Assessment consists of 10 tests, they are:
- Gait on level surface
- Change in gait speed
- Gait with horizontal head turns
- Gait with vertical head turns
- Gait with 180-degree pivot turn
- Stepping over obstacles
- Gait with a narrow base of support
- Gait with eyes closed
- Backwards gait
- Gait while utilizing stairs
How are the 10 Functional Gait Assessment Tests Scored?
Each item is scored on a 4-point ordinal scale ranging from 0-3. A score of 0 indicates severe impairment while a score of 3 indicates normal ambulation. All items are added to calculate a total functional gait score out of 30 points.
- 3 = normal: there are no gait or balance impairments and the patient completes the specific task promptly.
- 2 = mild impairment
- 1 = moderate impairment
- 0 = severe impairment: the patient cannot perform the task without assistance, there are severe gait deviations or imbalances, they deviate from the walkway, or the patient takes an increased time to perform the task.
What Equipment Should I Use for the Functional Gait Assessment?

The advantage of the Functional Gait Assessment is that it needs minimal equipment, takes very little time, and has zero cost to perform. To perform a Functional Gait Assessment, you will need:
- A stopwatch
- A measuring device to mark off the area
- A marked walking area = 20 ft (6 m); width 12 in (30.48 cm)
- An obstacle of 9-in height (22.86 cm) using at least two stacked shoeboxes
- A set of steps that are 7 ¾ -9 in high with bilateral rails.
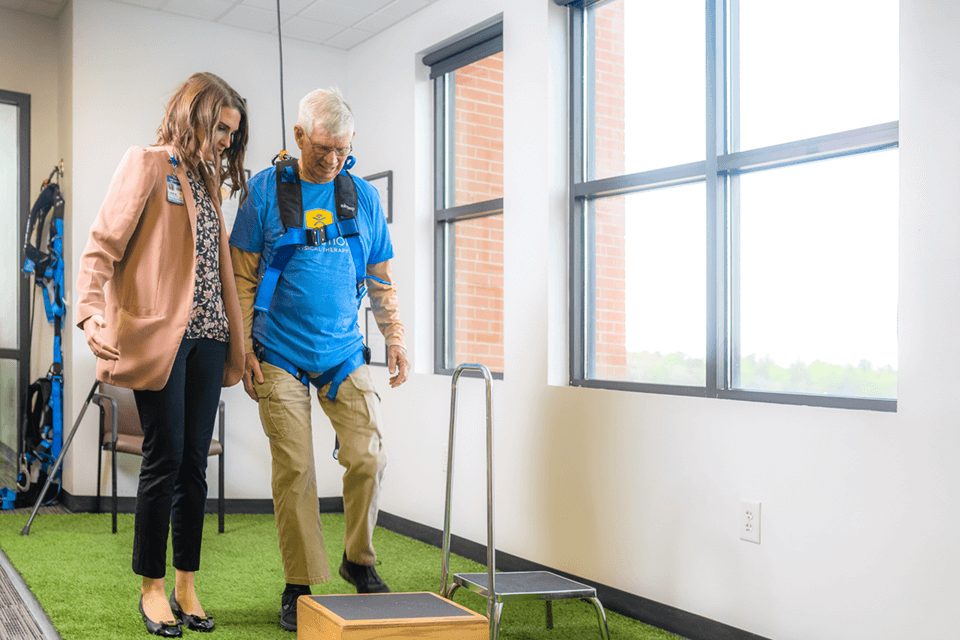
Optional: an assistive device like the Solo-Step for patients who may require additional assistance.
How Long Does the Functional Gait Assessment Take to Perform?
The Functional Gait Assessment takes very little time to complete. It may take 20 minutes for a new clinician to complete. An experienced clinician may complete the assessment within 10 minutes.
Setting Up Your Functional Gait Assessment
A pre-measured area is recommended to complete the Functional Gait Assessment to eliminate distractions and disruptions during administration. Re-testing should be performed in the same place/environment.
The Functional Gait Assessment should be set up as follows:
- Find an open space in your facility with enough space for a 20 ft (6 m) pathway and a width of 12 in (30.48 cm) in a designated area over solid flooring.
- Ensure your patient is in a quiet environment with minimal distractions.
- Your patient should stand quietly in a comfortable position at the start of the 20 ft (6 m) marked walking area, except for the items listed below:
- Item 6: Step Over Obstacle
- The patient should stand in a comfortable position at the start of the 20 ft (6 m) marked walking area with an obstacle (shoeboxes) positioned perpendicular to and halfway down the walkway.
- Item 7: Gait with Narrow Base of Support
- The patient should stand in a comfortable position with arms folded across their chest at the start of a hallway allowing for 12 ft (3.6 m).
- Item 9: Ambulating Backwards
- The patient is standing quietly in a comfortable position at the start of the 20 ft (6 m) marked walking area facing backward.
- Item 10: Steps
- The Patient should stand in a comfortable position at the base of the steps.
How to Administer the Functional Gait Assessment
Our Functional Gait Assessment document is easy to follow and simple to use during your assessment. Download our free Functional Gait Assessment checklist and guide here:
Use the following information to help administer the Functional Gait Assessment for each exercise:
Item 1: Gait Level Surfaces
- Walk at your normal speed from here to the next mark (20 ft [6m]).
Item 2: Change in Gait Speed
- Begin to walk at your normal pace (for 5 ft [1.5 m]). When I tell you “go,” walk as fast as you can (for 5 ft [1.5 m]). When I tell you “SLOW,” walk as slowly as you can (for 5 ft [1.5 m]).
Item 3: Gait with Horizontal Head Turns
- Walk from here to the next mark 20 ft [6m] away. Begin to walk at your normal pace. Keep walking straight; after 3 steps, turn your head to the right and keep walking straight while looking to the right. After 3 more steps, turn your head to the left and keep walking straight while looking left. Continue alternating looking right and left every 3 steps until you have completed 2 reps in each direction.
Item 4: Gait with Vertical Head Turns
- Start walking from here to the next mark 20 ft [6 m] away. Begin to walk at your normal pace. Keep walking straight; after 3 steps, tip your head up and keep walking straight while looking up. After 3 more steps, turn your head up and keep walking straight while looking down. Continue alternating looking up and down every 3 steps until you have completed 2 repetitions in each direction.
Item 5: Gait and Pivot Turn
- Begin with walking at your normal pace. When I tell you, “turn and stop,” turn as quickly as you can to face the opposite direction and stop.
Item 6: Step over Obstacle
- Walk at your normal pace. When you come to the shoebox, step over it, not around it, and keep walking.
Item 7: Gait with Narrow Base of Support
- Start by walking on the floor with arms folded across your chest, feet aligned heel to toe in tandem for a distance of 12 ft [3.6m]. The number of steps taken in a straight line is counted for a maximum of 10 steps.
Item 8: Gait with Eyes Closed
- Walk at your normal pace from here to the next mark (20 ft [6 m]) with your eyes closed.
Item 9: Ambulating Backwards
- Walk backward until I tell you to stop.
Item 10: Steps
- Begin by walking up these stairs as you would at home (i.e. using the rail if necessary). At the top turn around and walk down.
The Functional Gait Assessment may be performed with or without an assistive device. If your patient re-tests, use the same assistive device as they did before. If possible, your patient should walk without the physical assistance of another person. Retesting should be done in the same designated area/environment.
When administering walking items, do not walk in front of or directly beside the patient, as this “paces” the patient and can influence the speed at which they walk. Instead, walk at least a half step behind the patient.
Functional Gait Assessment Scoring
Each item should be rated on a scale from 0-3. 0 indicates severe impairment while 3 indicates a normal score. A score out of 30 should be calculated at the end of the 10 tests. A score of 22/30 or below may classify as a fall risk in older adults and could be a predictor of unexplained falls in community-dwelling older adults.
What Equipment Should I Use for Fall-Risk Patients?

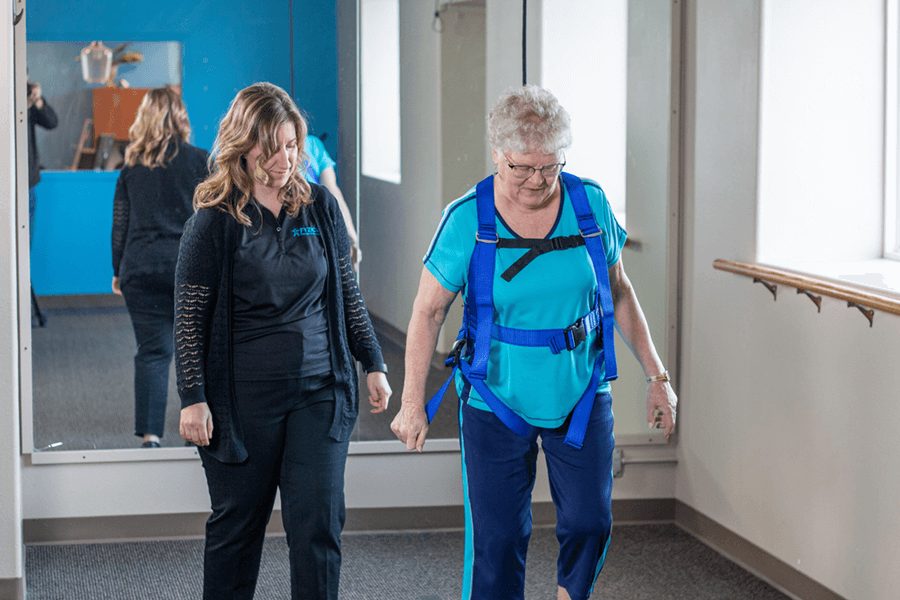
If your patients suffer from vestibular or balance issues, consider implementing equipment to assist them during their rehabilitation like the the Solo-Step Overhead Track & Harness System. The Solo-Step is a ceiling-mounted track system that connects to a lanyard and harness. When your patient is in the Solo-Step Harness, they will be protected from falls and injuries during physical therapy. The Solo-Step Overhead Track System:
- Eliminates the fear of falling down
- Gives patients a boost of confidence
- Allows patients to challenge themselves with advanced therapies
- Creates a safe environment for balance, strength, and gait training
- Reduces therapist strain and injury during rehabilitation
The Solo-Step can be used by patients who may require additional support during gait and balance testing, like the Functional Gait Assessment. Using the Solo-Step during these tests allows your patients to perform exercises safely while still noticing their gait imperfections and imbalances.
For more information about the Solo-Step Overhead Track & Harness System, click the button below!
*Always consult with your physician for medical advice to make sound medical decisions. The information on SoloStep.com is not intended to replace the counsel of your physician. Always consult with your physician before you alter anything in your treatment plan.